PROJECT 01 / Mechanical Design
Interactive Educational Wind Tunnel
A modular educational wind tunnel designed to expose young aspiring engineers to aerospace engineering through hands-on experimentation.
01 / OVERVIEW
Designing for curiosity
The original goal of this project was to create a tool or toy that could expose young aspiring engineers to aerospace engineering and encourage them to develop an interest in the field.
Rather than creating a wind tunnel intended only for technical testing, the design focused on making aerodynamic concepts visible, understandable, and interactive.
02 / PROBLEM & GOAL
Making airflow understandable
The challenge was to create a system that could demonstrate airflow in a way that children could actually see and interact with.
The finished design needed to function as a wind tunnel while also being approachable and engaging as an educational device.
03 / DESIGN
A modular four-section system
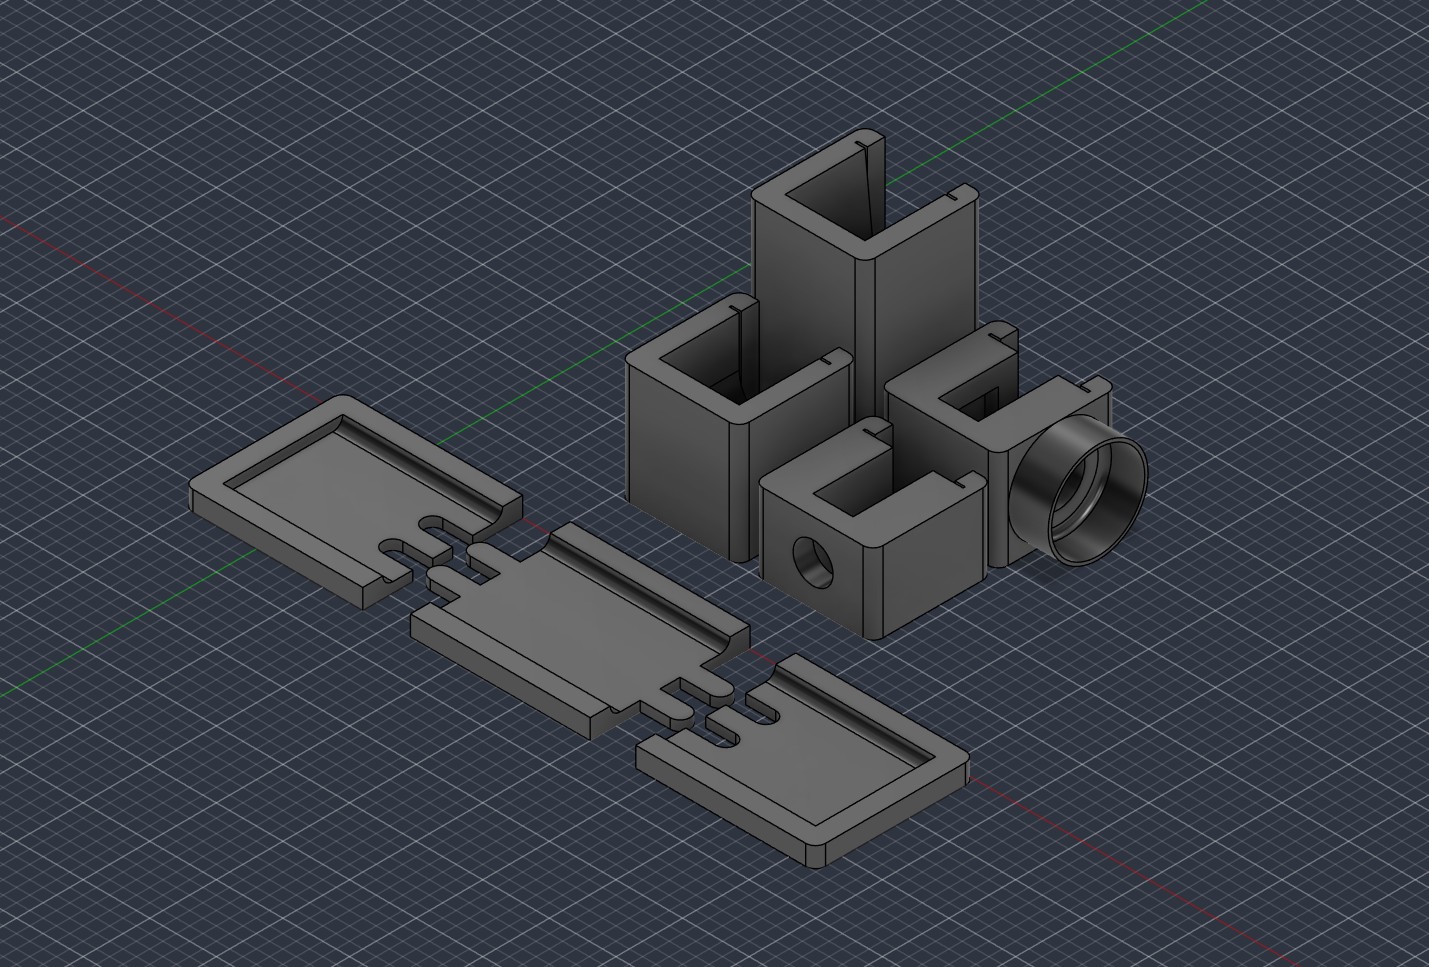
I designed the complete wind tunnel in Fusion 360. The system consisted of four main sections: the contraction, test section, diffuser, and vapor section.
Custom tracks were designed to securely hold the sections in place while allowing the individual components to be rearranged.
The vapor system converted water from a plastic water bottle into a fine mist. A fan positioned at the end of the tunnel pulled the mist through the system, making airflow visible.
04 / ITERATION
Improving the design through iteration
The initial versions revealed several problems. Some areas had unnecessarily sharp edges, and the structure did not provide enough space for lighting.
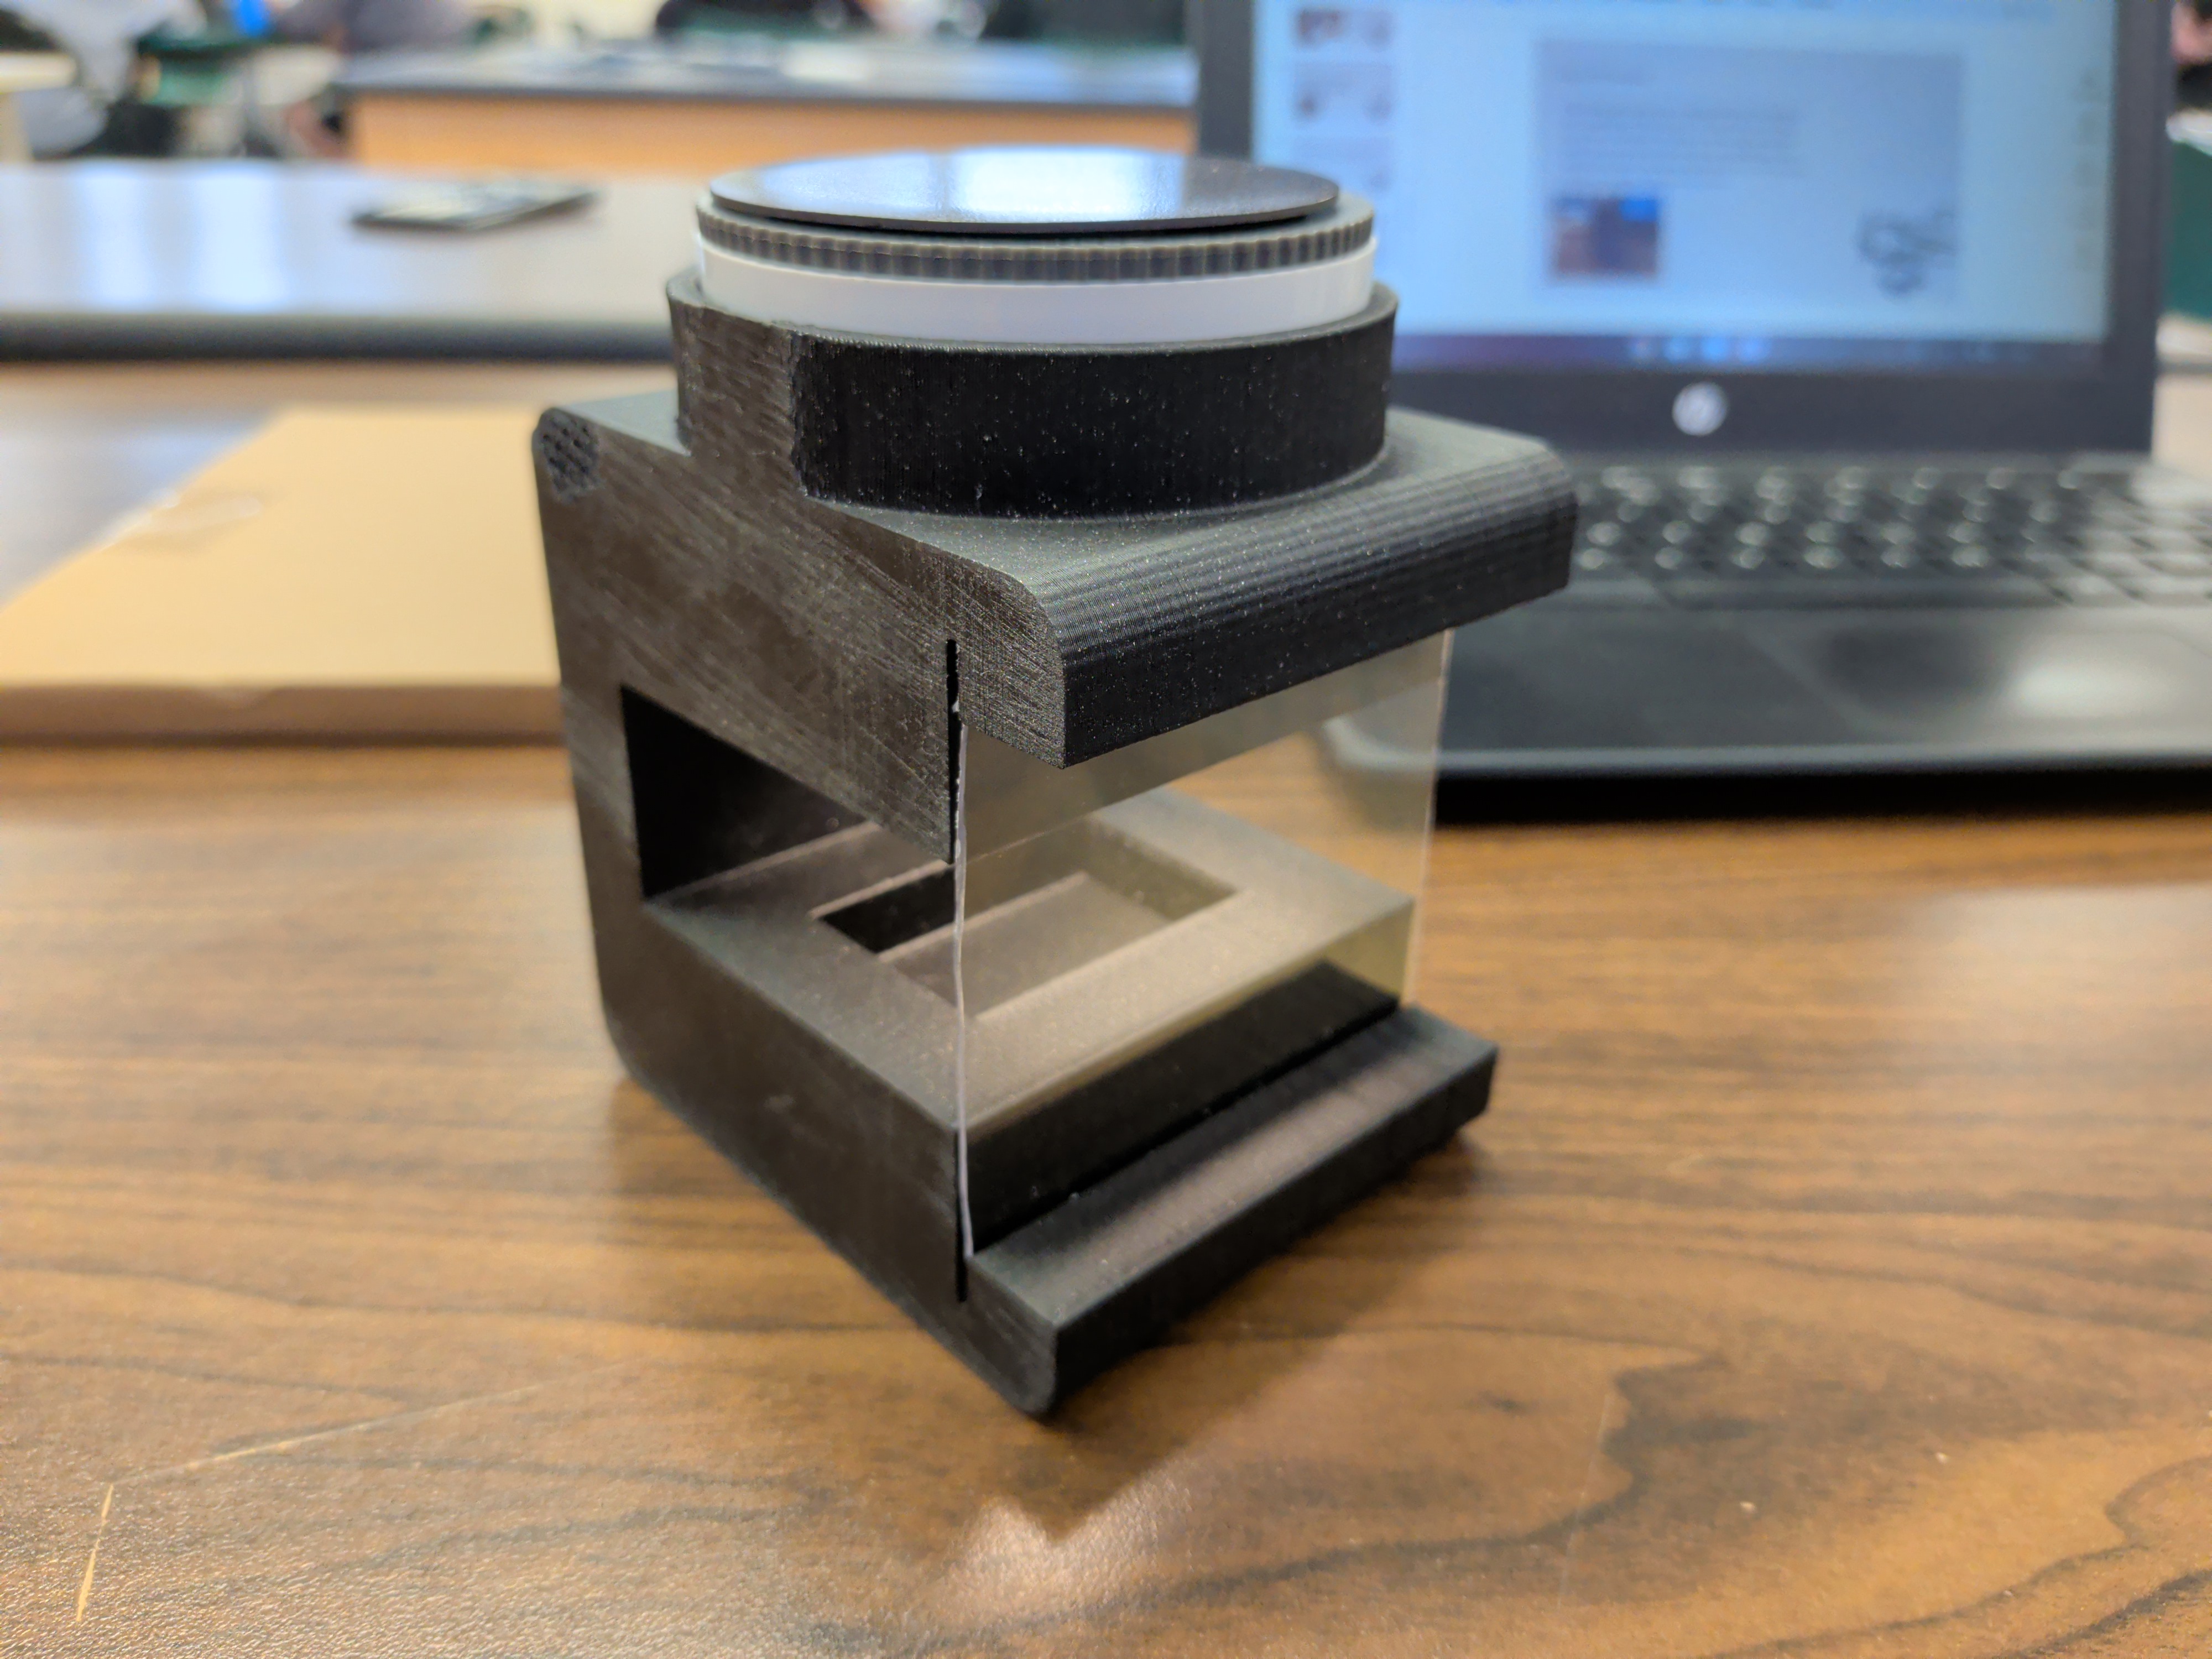
I redesigned the components to address these issues. Later versions incorporated dedicated lighting space and slits that allowed plexiglass panels to slide into the structure.
The transparent panels made the tunnel more useful as an educational device because users could see its internal geometry and understand why it was shaped that way.
05 / TESTING
Testing airflow
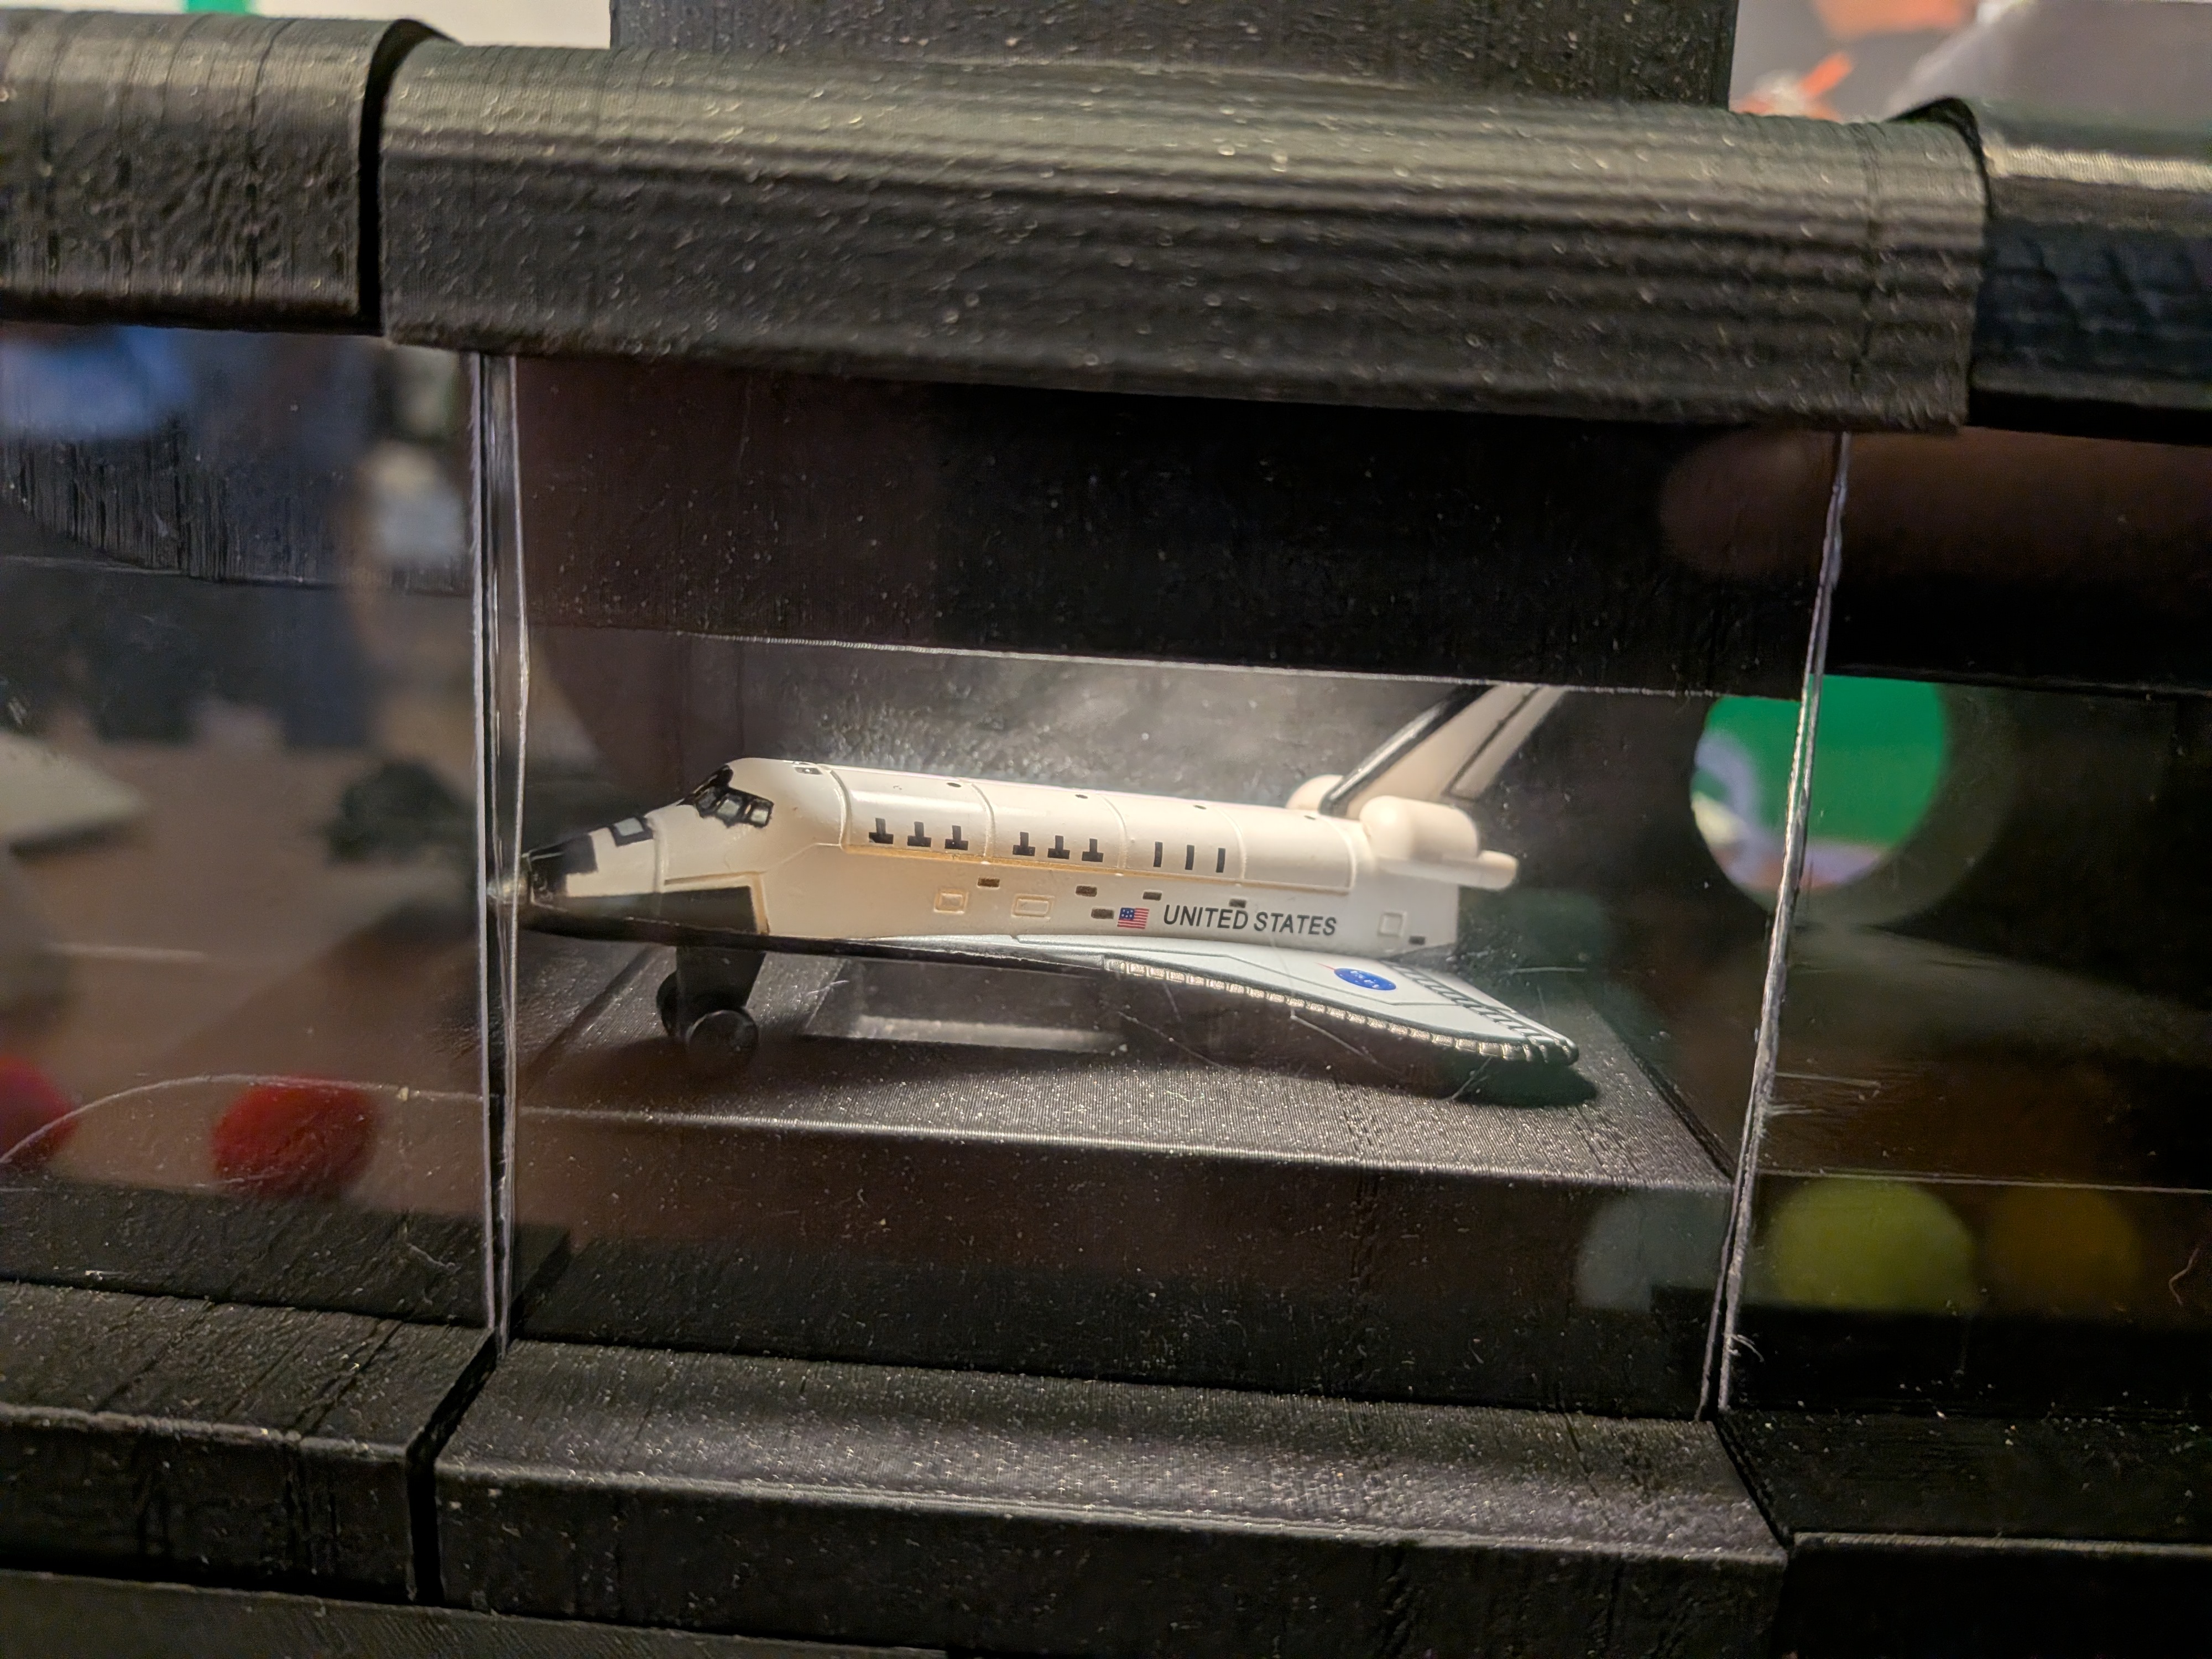
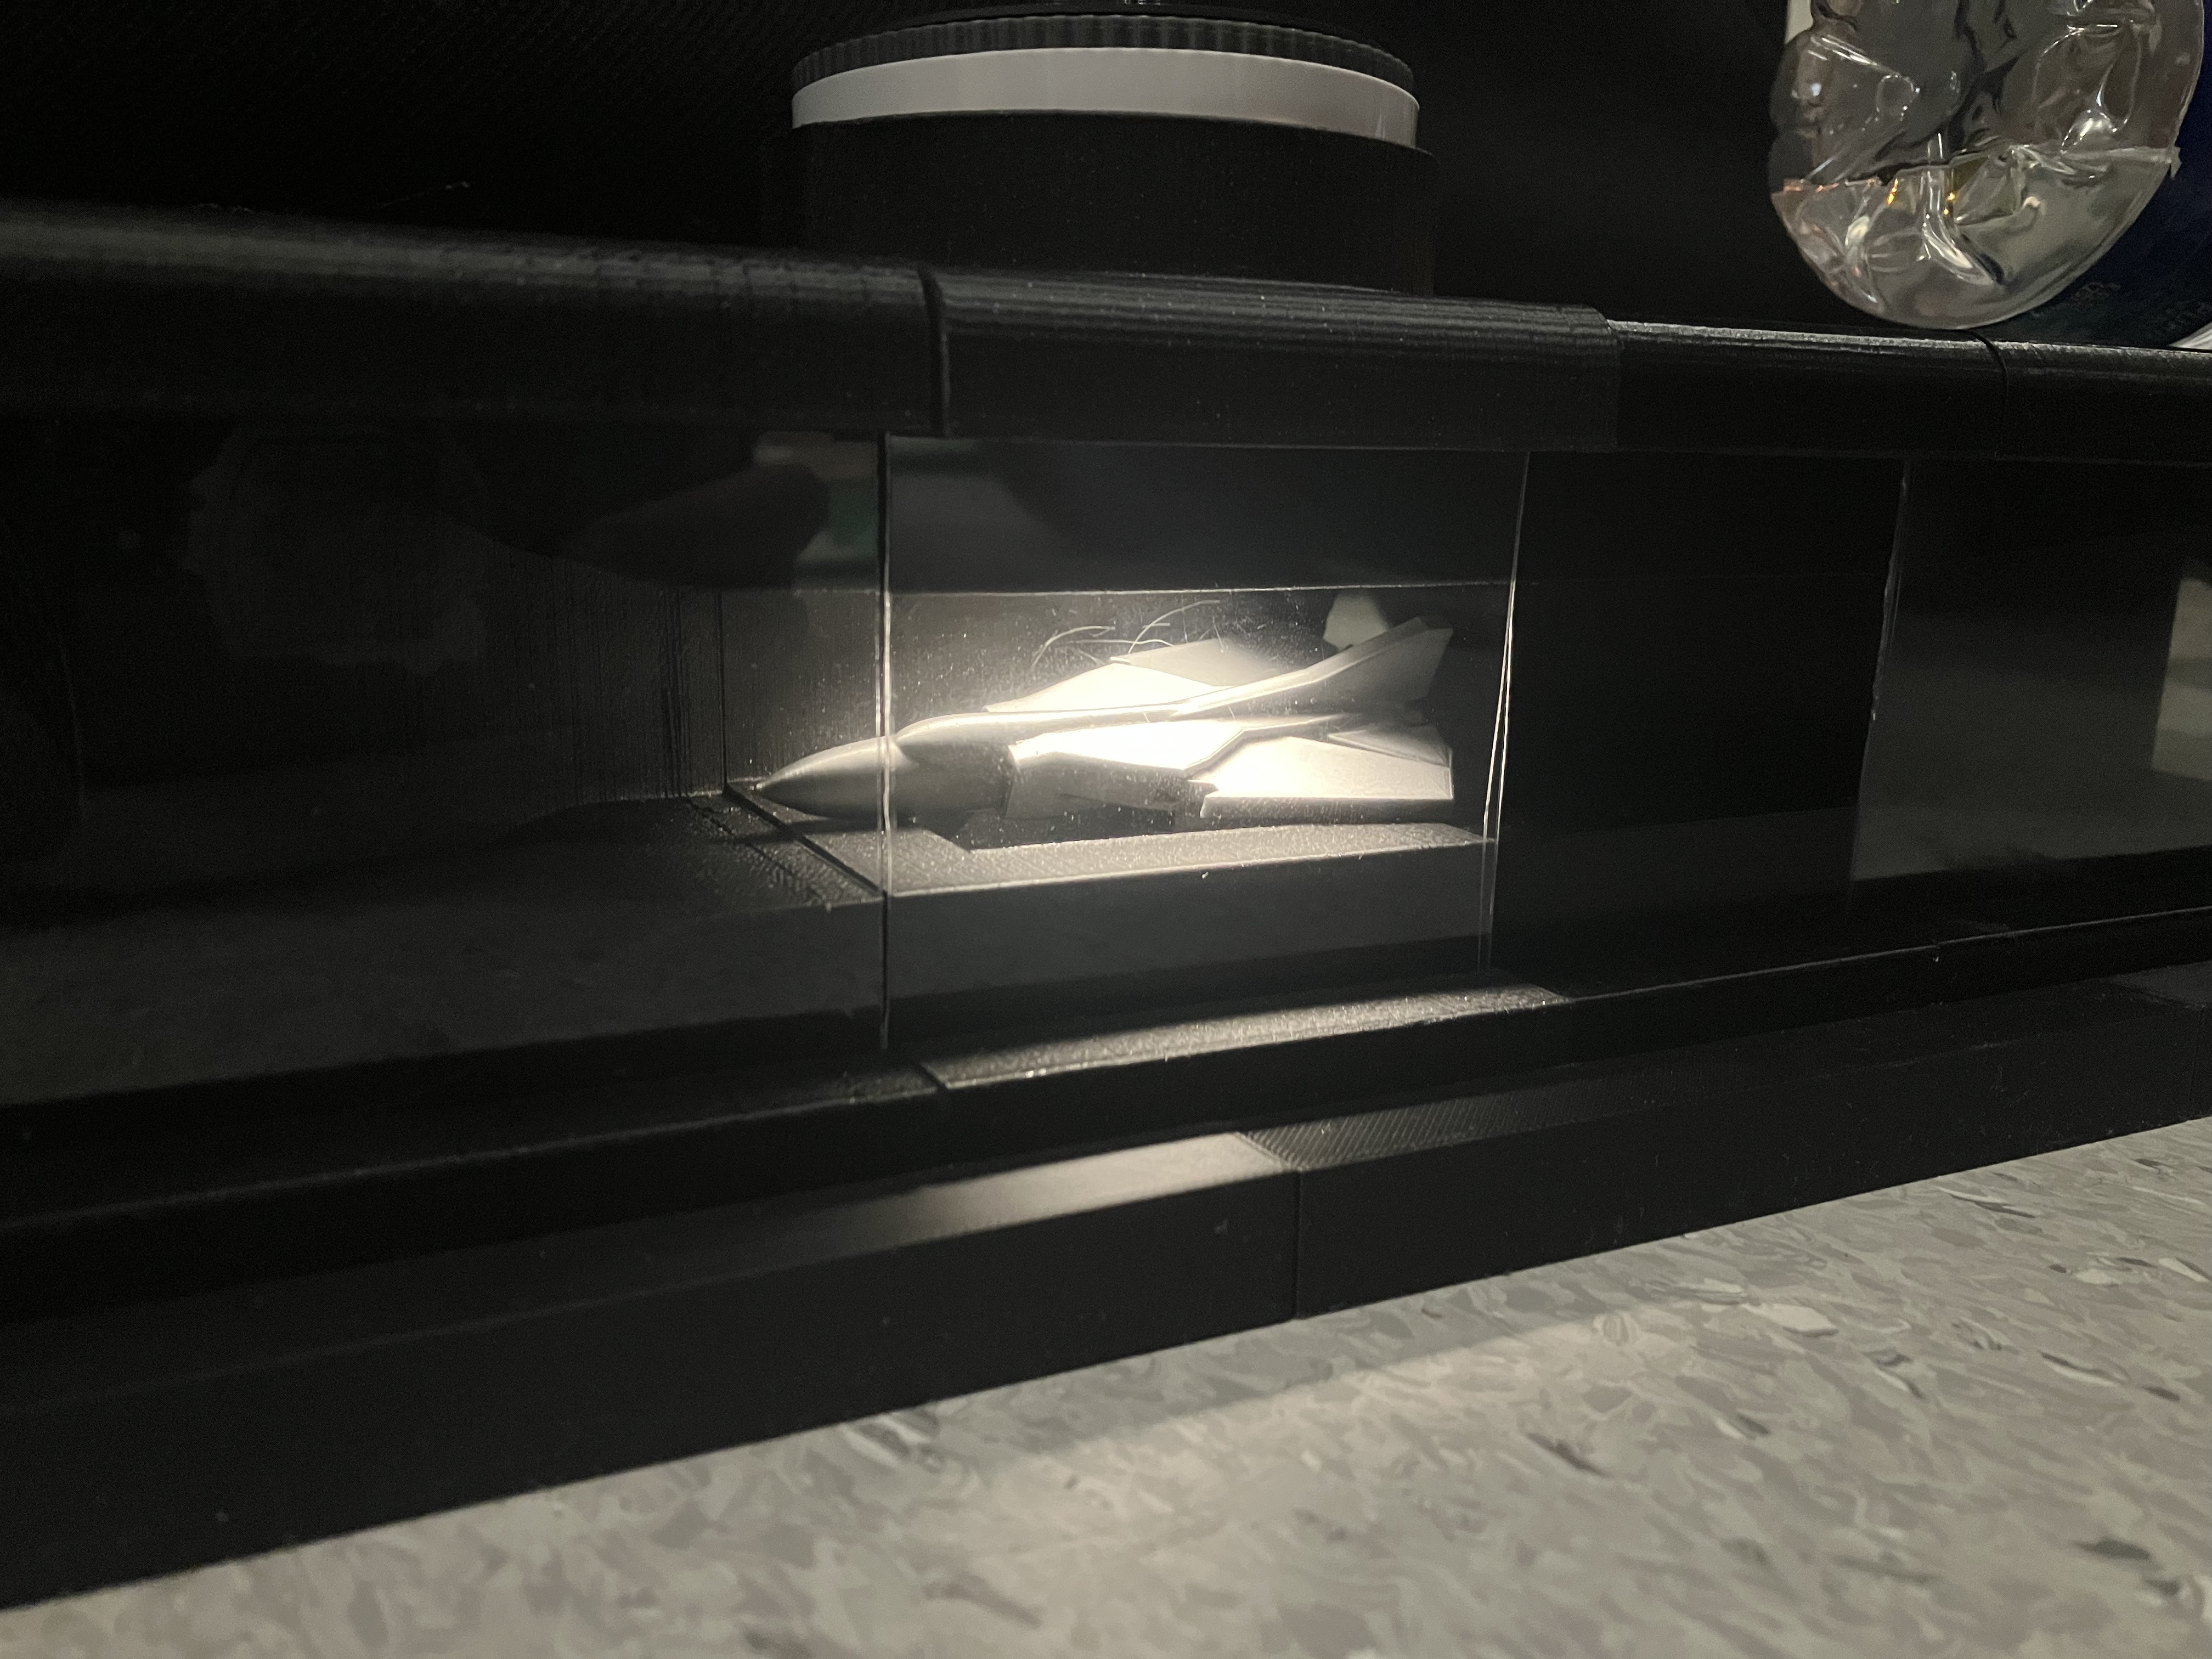
The completed system was tested using visible water vapor to observe airflow through the different sections of the tunnel.
Different configurations produced noticeably different behavior. Some created faster visible airflow, while others restricted it enough that little or no airflow could be observed.
The tunnel was also tested with model aircraft, airfoil shapes, cars, and other small objects.
TEST FOOTAGE
Space Shuttle Airflow Testing
06 / APPLICATION
From prototype to demonstration
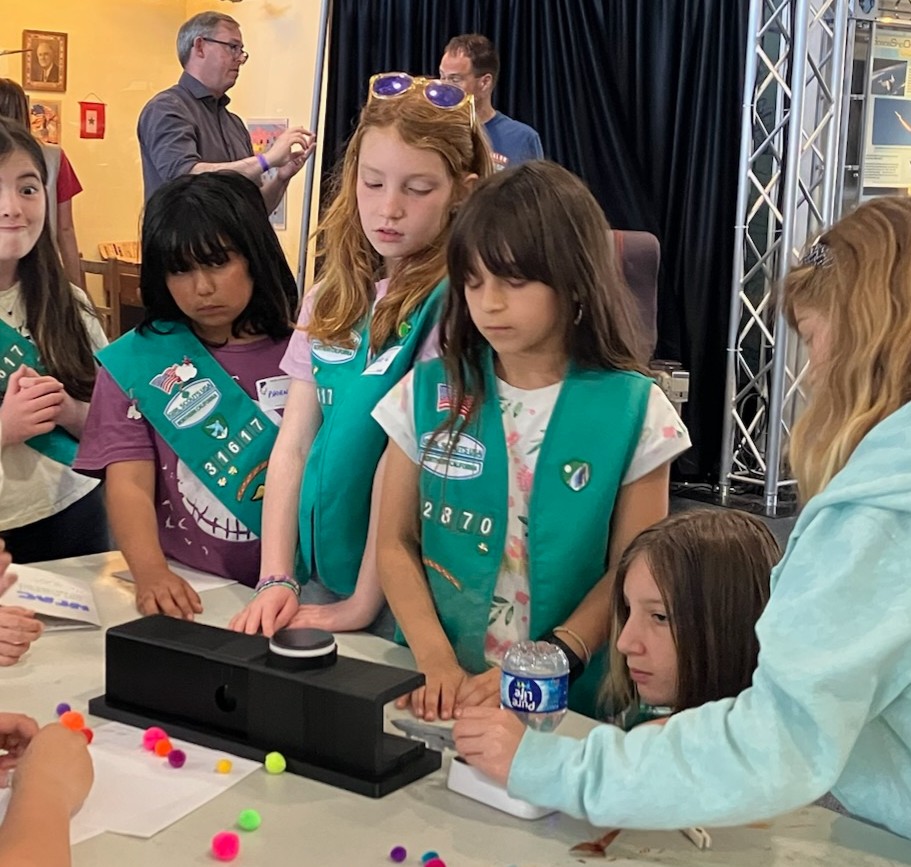
The finished wind tunnel was demonstrated at the Hiller Aviation Museum as an interactive educational engineering tool.
Children could rearrange the sections, place different objects inside the test section, and observe how their configurations affected airflow.
07 / RESULTS
Building something people wanted
The final prototype successfully functioned as an interactive wind tunnel and allowed users to experiment with airflow rather than simply observe a demonstration.
Visitors commented that they would buy the product if it were commercially available.
For me, the most rewarding outcome was designing something that worked, solving a real educational problem, and creating a product that people genuinely wanted to use.
08 / LESSONS
What I learned
This project taught me that engineering design is not only about making something function. The final product also needs to consider how people will interact with it and understand it.
I gained experience designing a complete physical system, iterating based on problems discovered during development, and balancing functionality with usability and education.
PROJECT GALLERY
Design & Development