PROJECT 02 / Mechanical Design & Prototyping
3D-Printed RC Aircraft
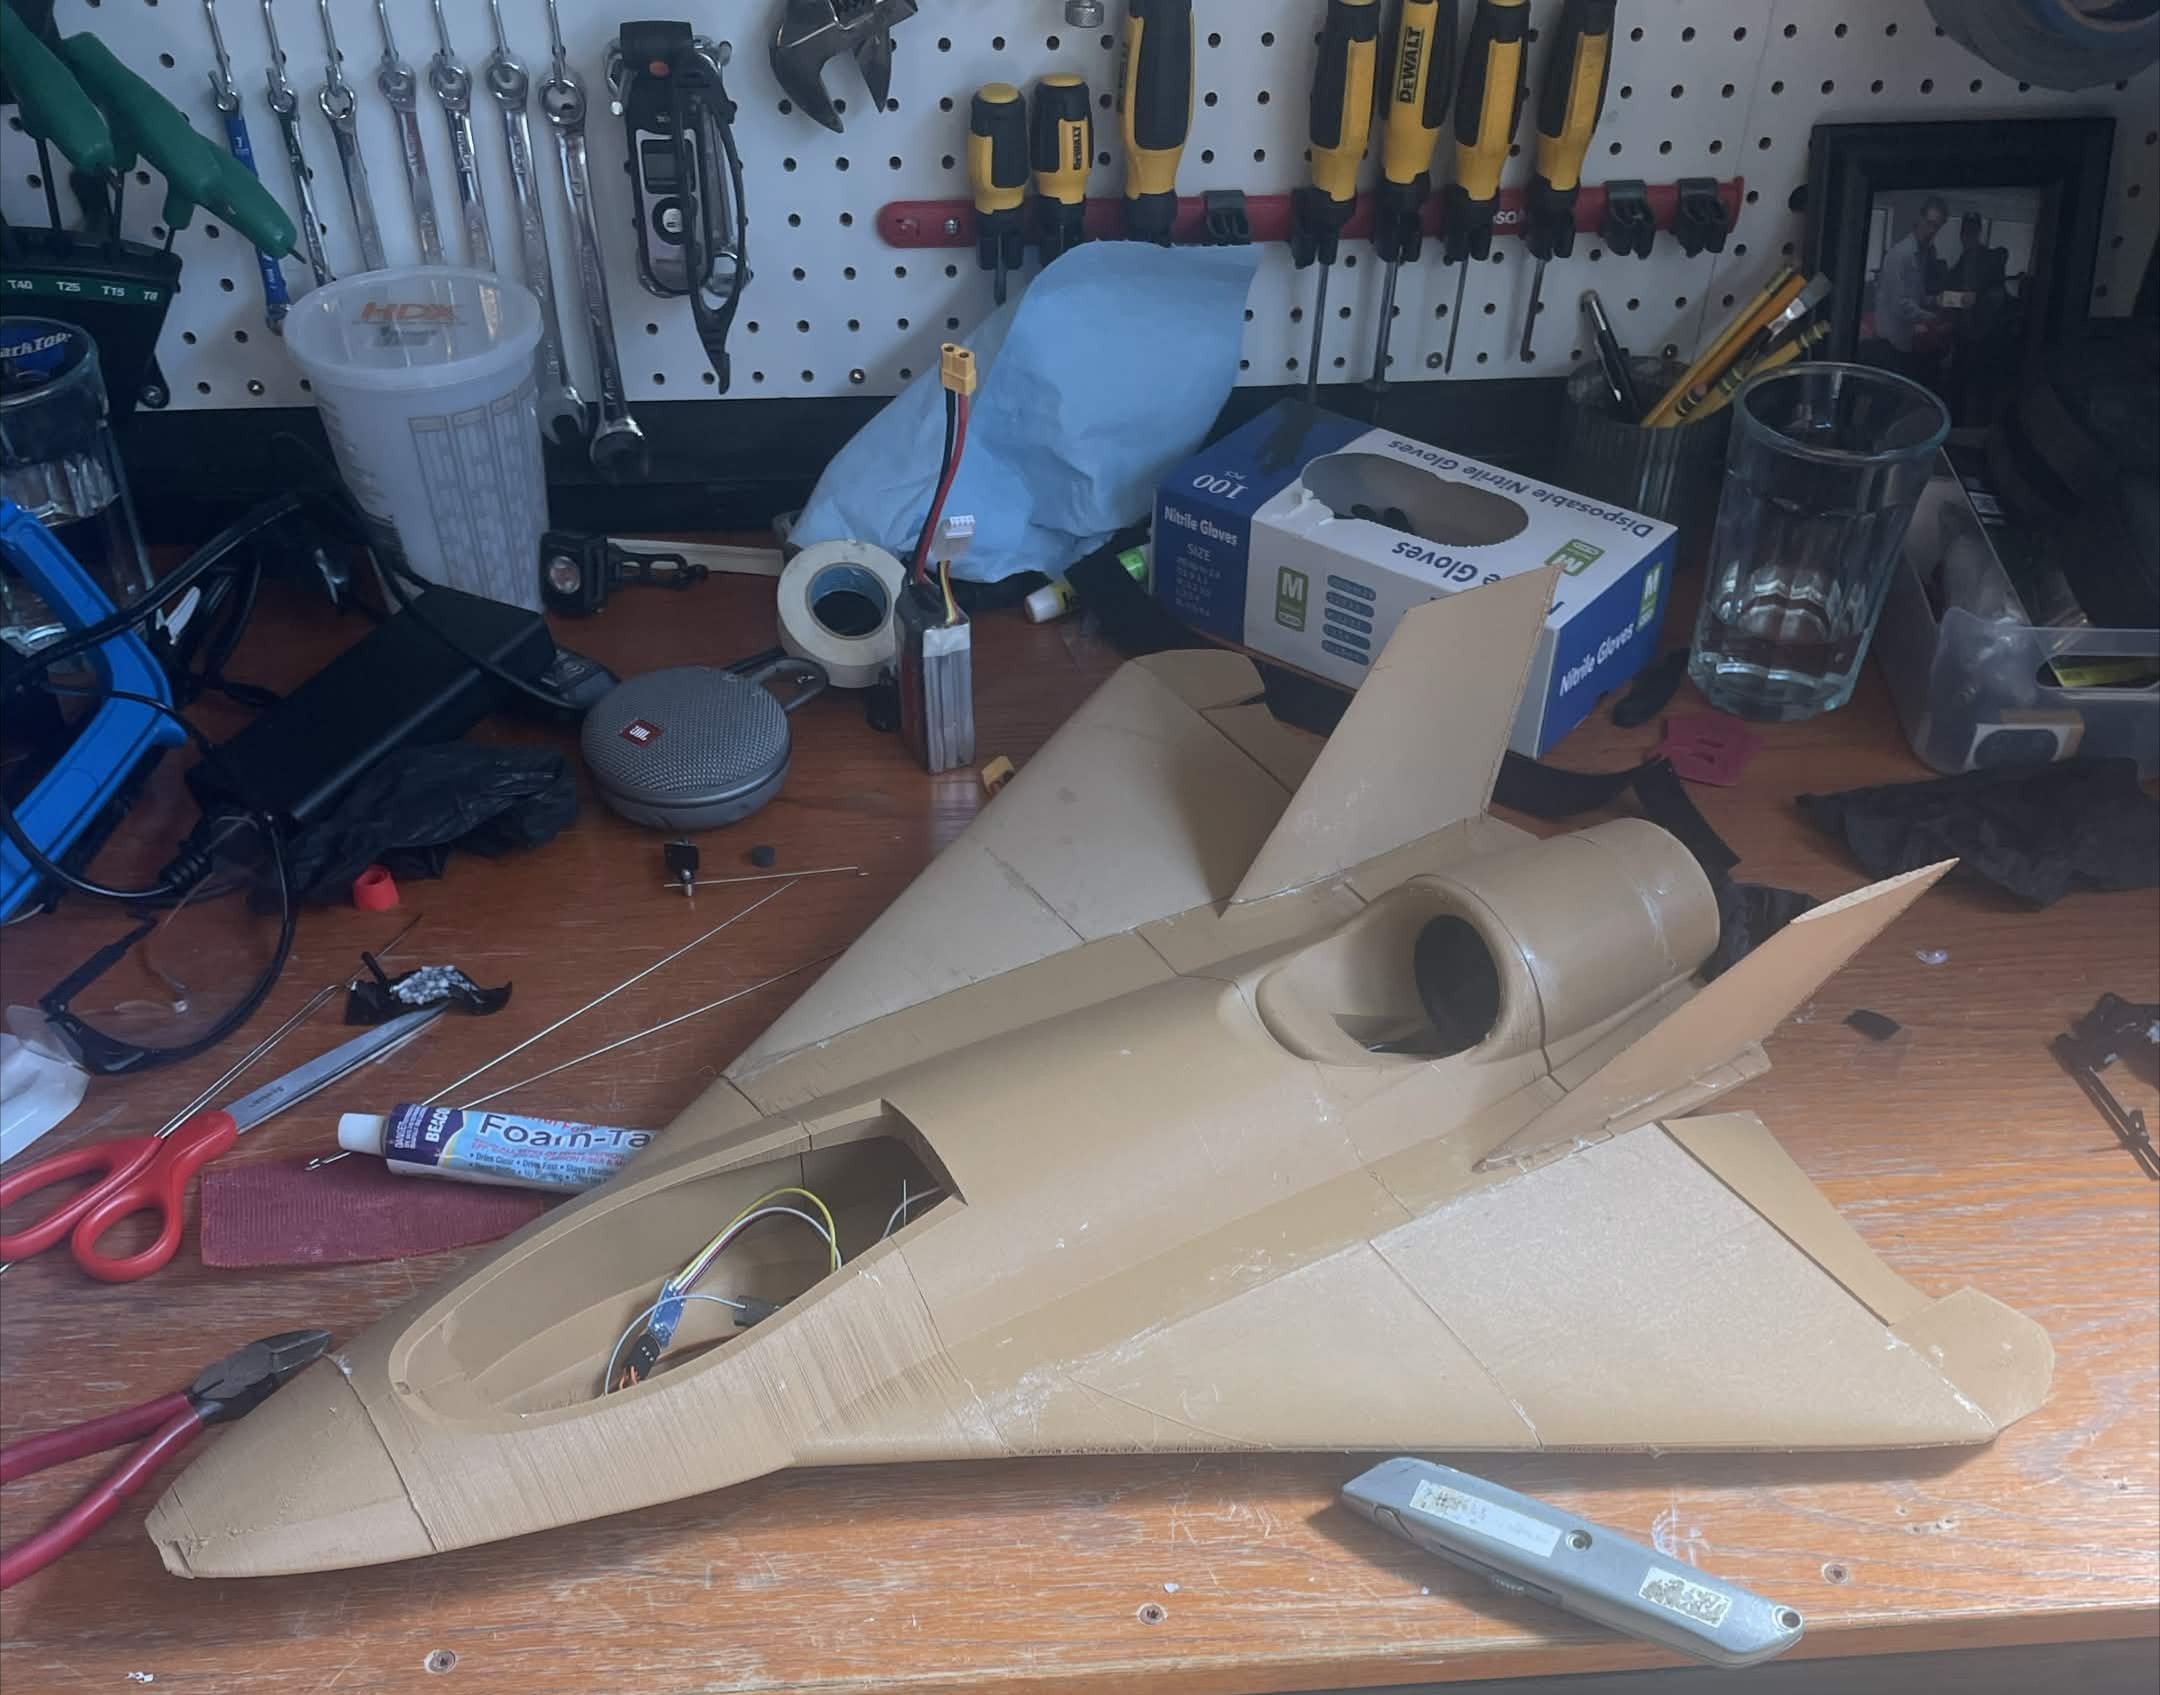
A lightweight 3D-printed RC aircraft designed, fabricated, assembled, and flight-tested to create a functional flyable aircraft.
01 / OVERVIEW
Building a flyable aircraft
The goal was to create a 3D-printed RC plane that would actually fly. I worked on the project with a friend as a hands-on engineering project for fun.
Instead of producing only a model aircraft, we wanted to create a functional aircraft that could be assembled, tested, and flown.
02 / DESIGN
Designing the control connections
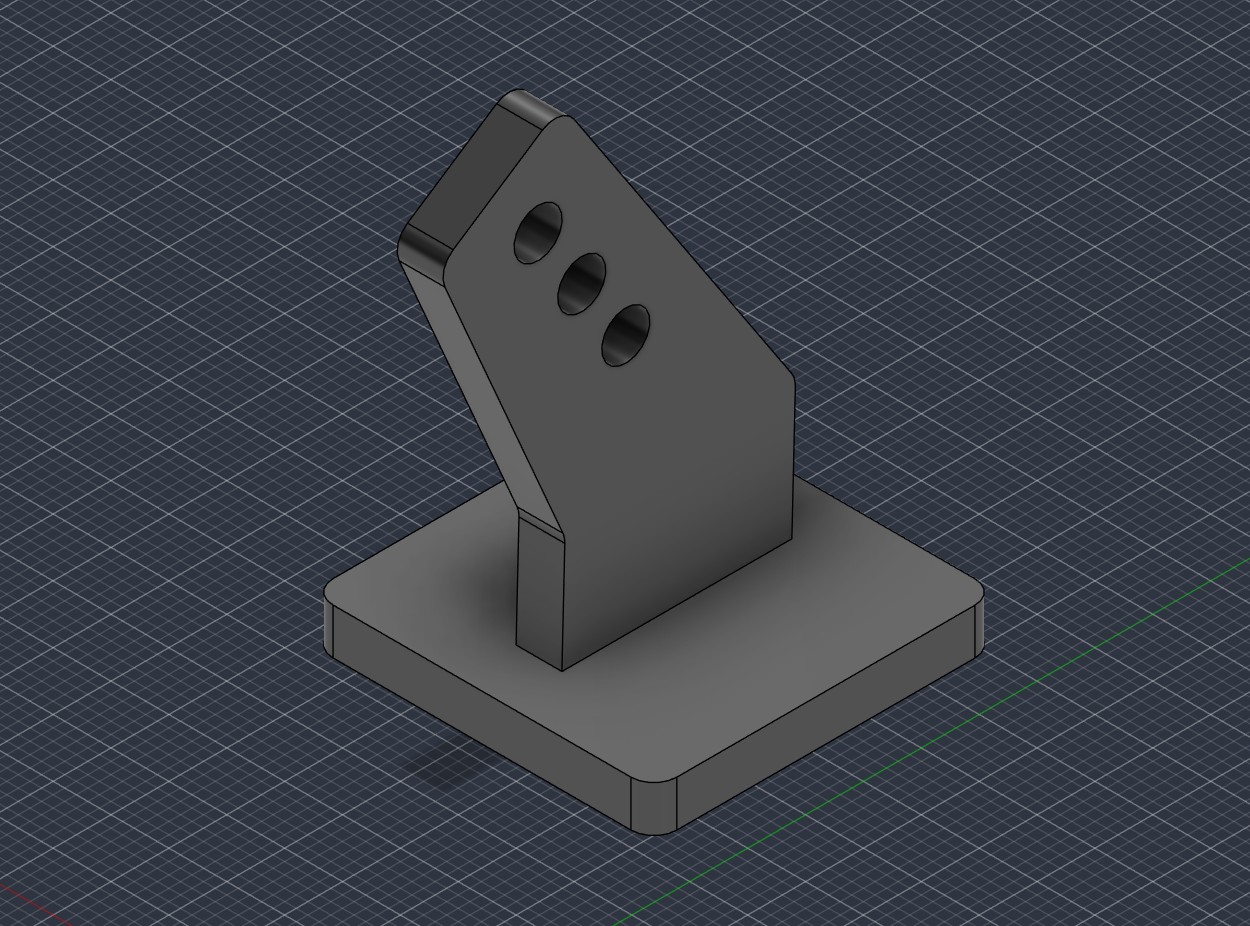
We used an existing online model for the main aircraft design, but I designed two important custom components myself.
These components connected the servo motors to the ailerons, allowing the servos to actuate the control surfaces.
Designing these parts gave me experience adapting a digital aircraft model with the custom mechanical components required for the full system to function.
03 / FABRICATION
Printing a lightweight airframe
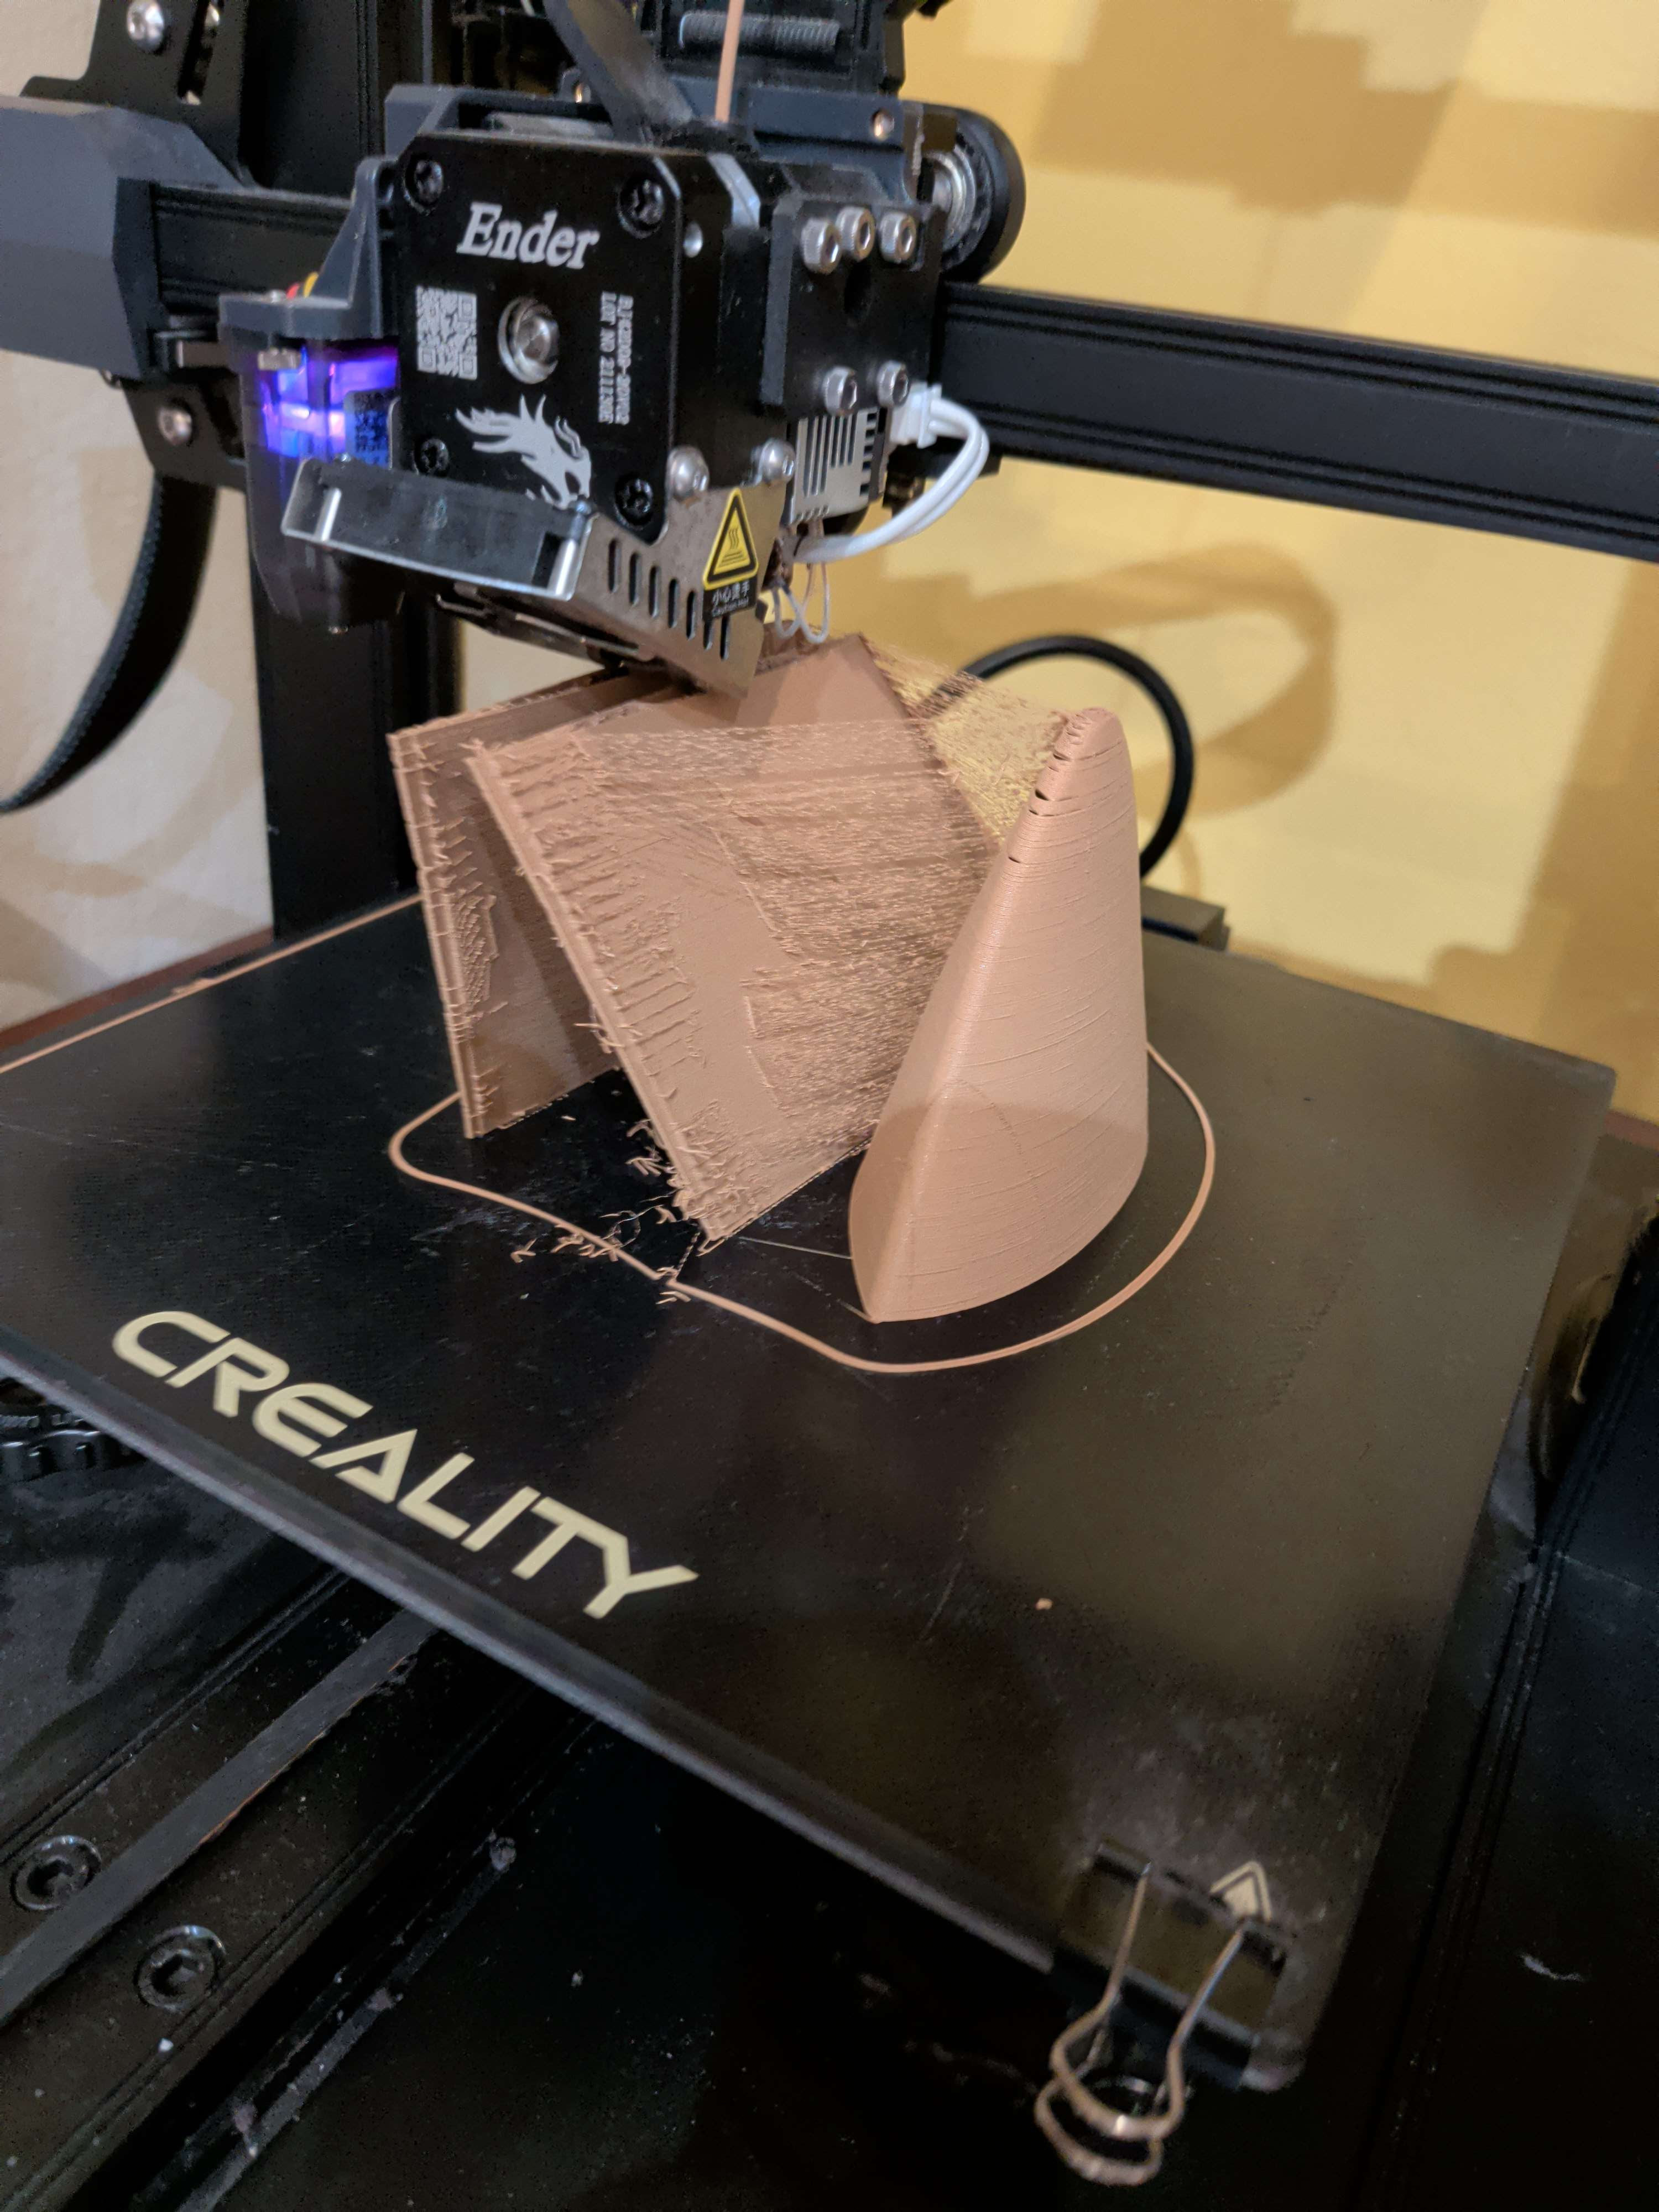
I printed the entire aircraft body using lightweight PLA filament on an Ender 3 S1.
Because the aircraft needed to remain light enough to fly, the print settings had to be carefully optimized.
I independently tuned the Cura settings to balance weight, print quality, structural integrity, and manufacturing time.
04 / ASSEMBLY
Integrating the electronics
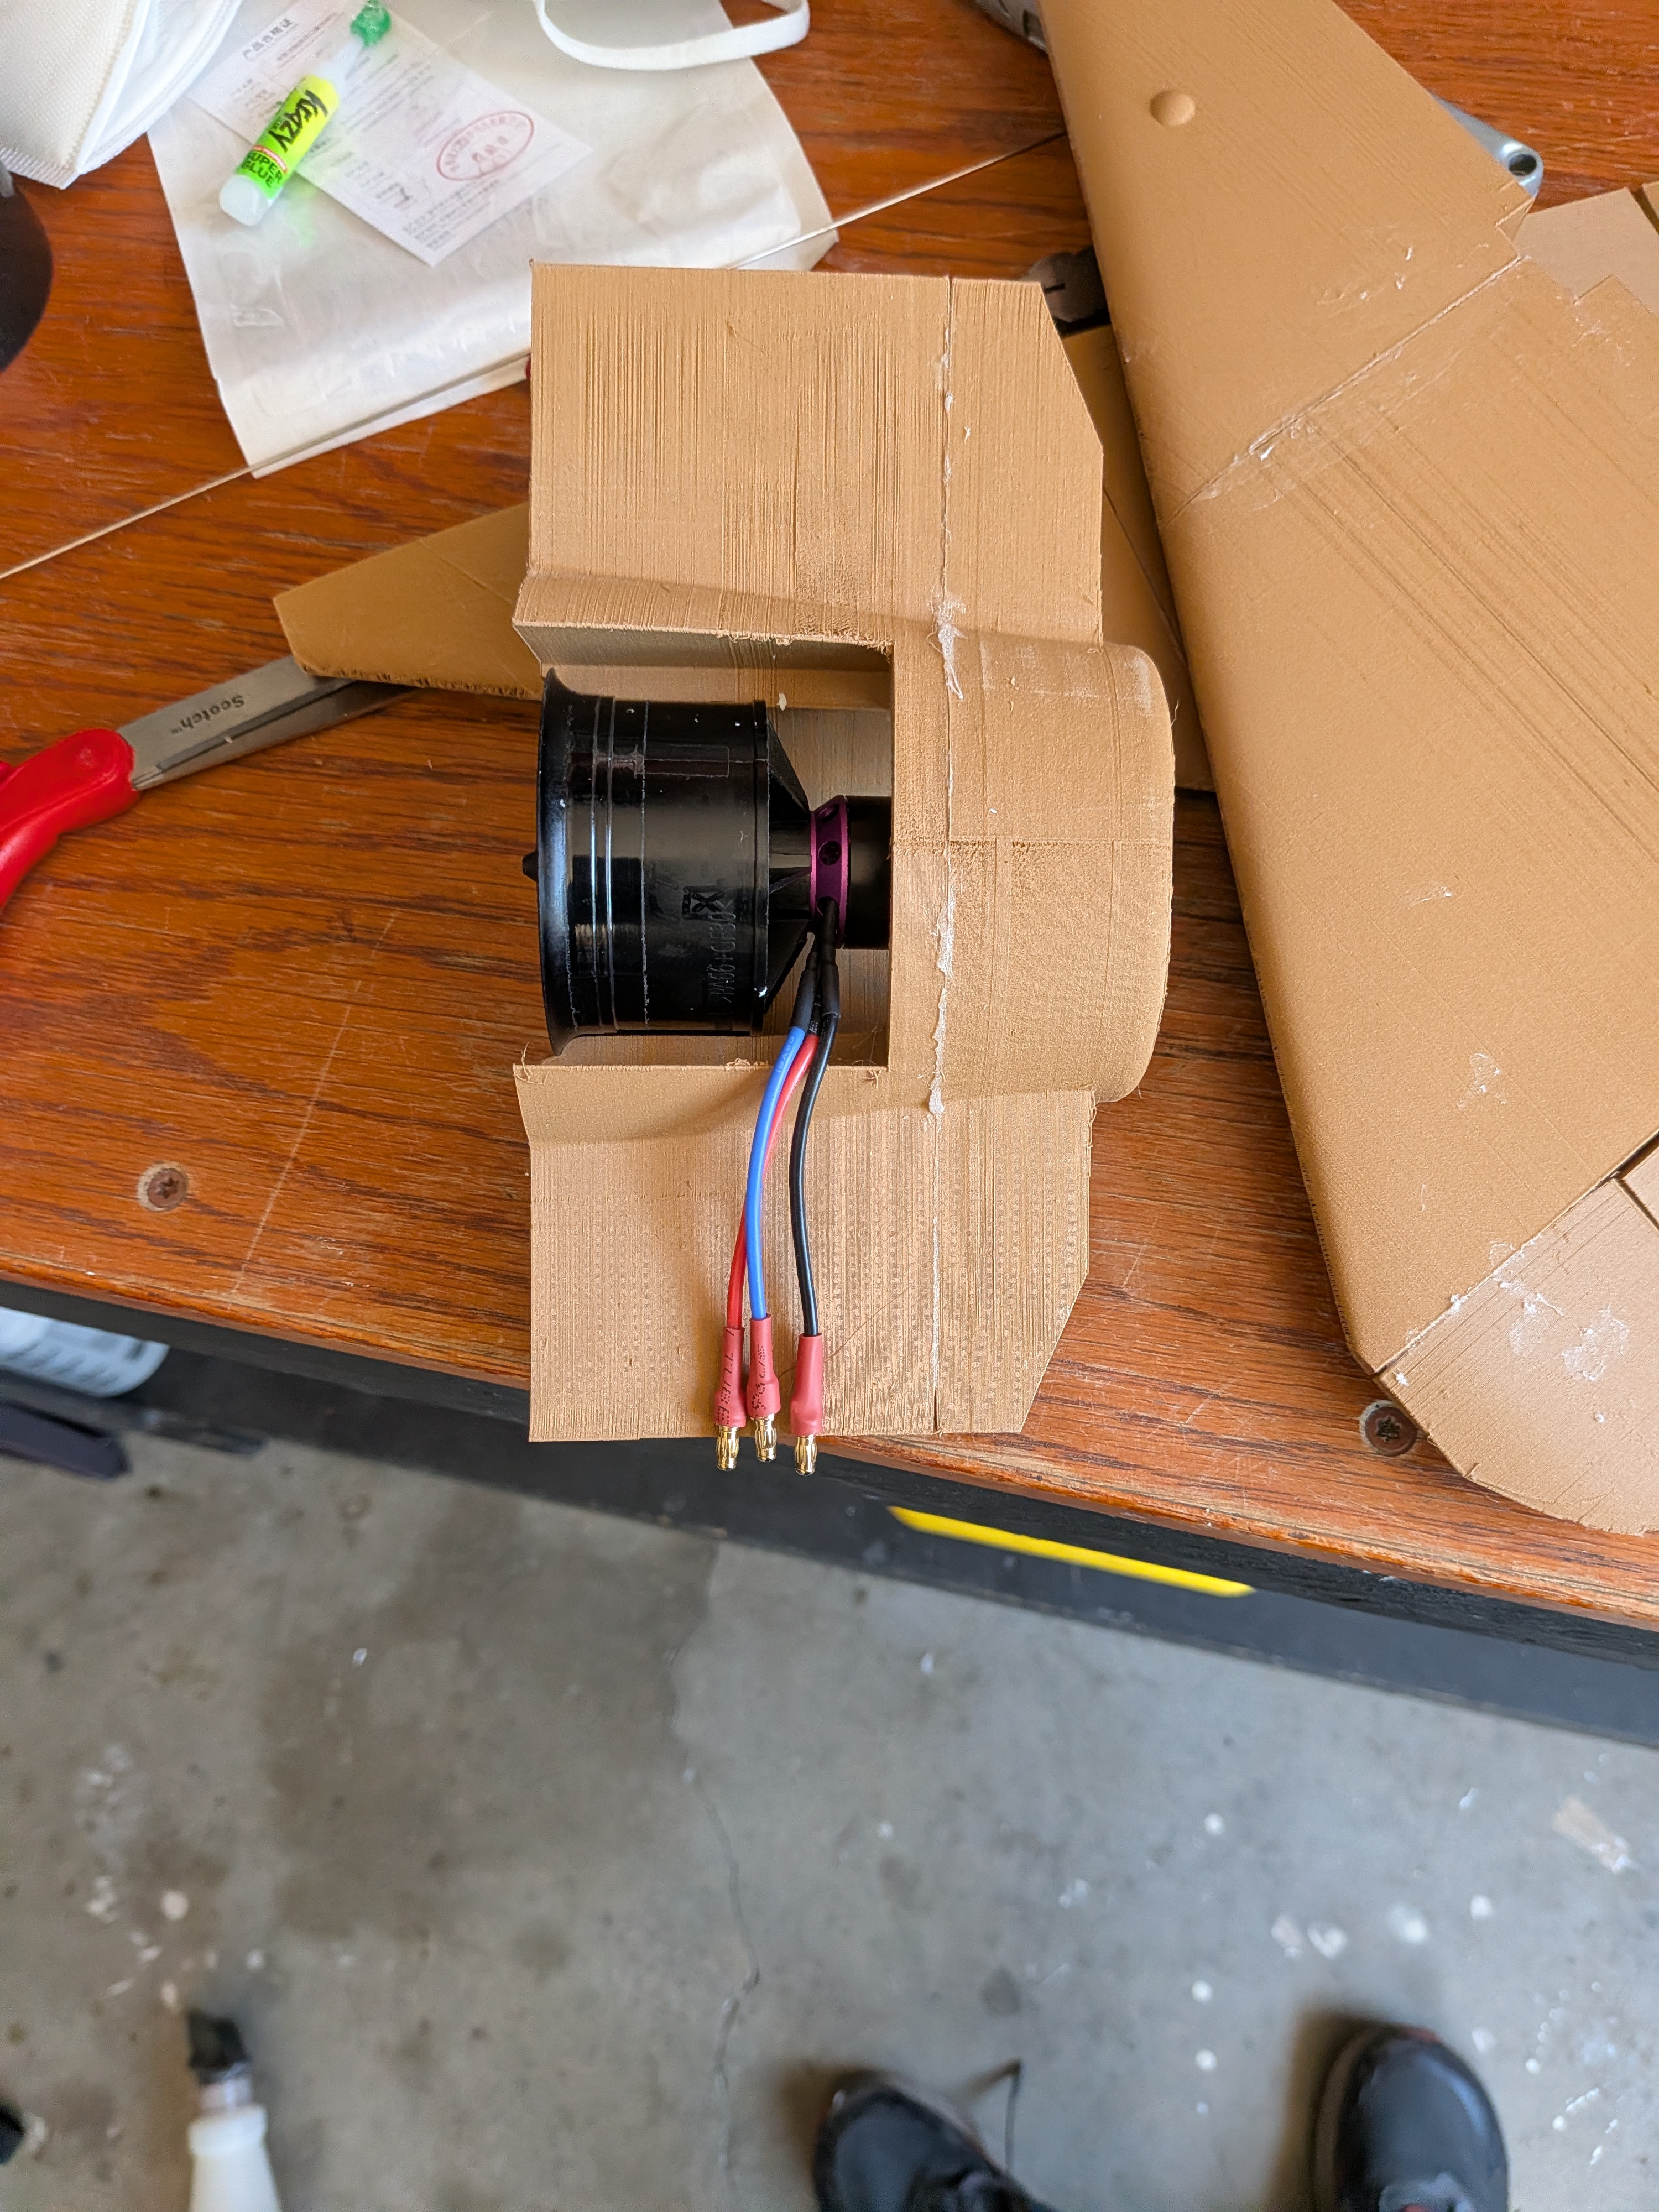
The completed aircraft incorporated all necessary electronics inside its printed shell.
Components were positioned inside the airframe and secured so they would remain in place during operation.
Some printed components snapped during assembly. We repaired and secured them with Foam-Tac glue, which was also used to assemble the airframe.
05 / BALANCE
Controlling the center of gravity
Weight distribution became an important part of preparing the aircraft for flight.
We carefully positioned the components and adjusted the weight distribution to create a controlled center of gravity.
This became especially important during testing, where small differences in weight distribution significantly affected the aircraft's behavior.
06 / FLIGHT TESTING
Three flights, three lessons
The aircraft went through three flight tests. Each flight provided new information and revealed issues that were not obvious during assembly.
Flight 1 — Initial Test
The first test was short and the aircraft did not successfully fly. It sustained only minor damage, allowing us to continue testing.
Flight 2 — Successful Flight
During the second test, the aircraft flew successfully and landed smoothly. However, it was unable to bank to the left.
Flight 3 — Final Test
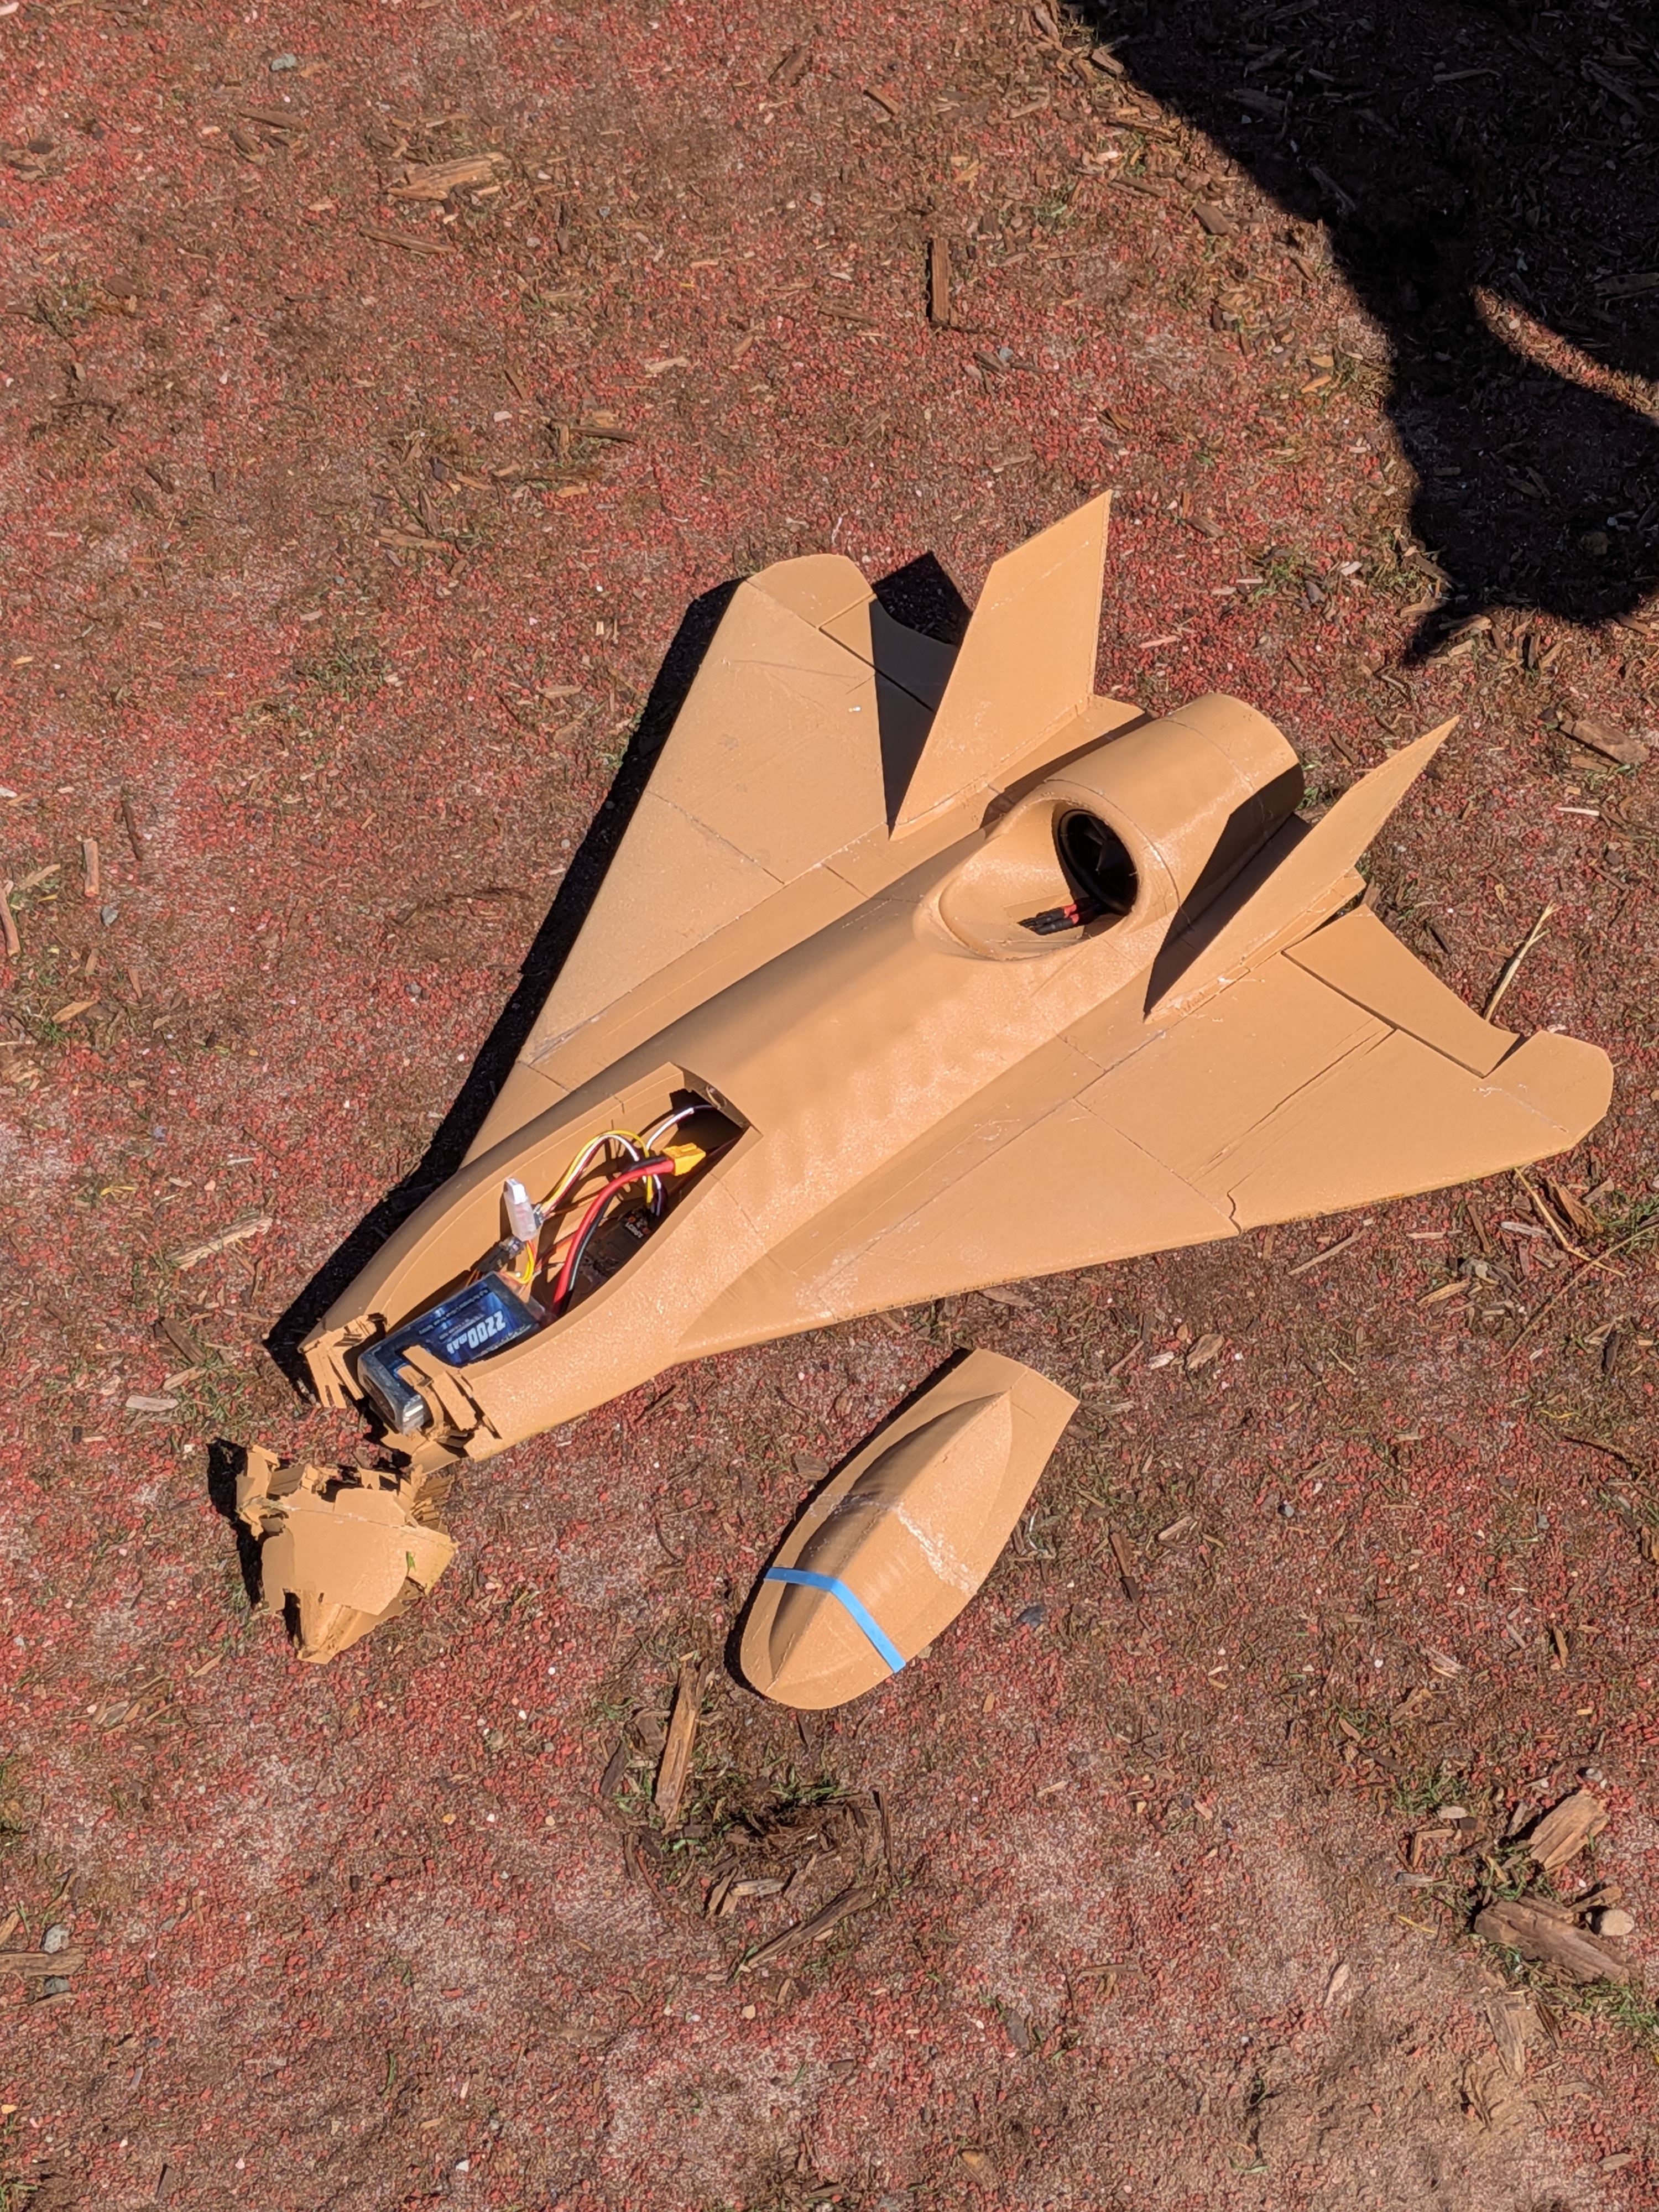
The third flight initially went well, but the aircraft eventually crashed.
FLIGHT TEST FOOTAGE
Flight Test Videos
07 / FAILURE ANALYSIS
Finding the cause
After the crash, we investigated the aircraft to determine what had caused the problem.
We discovered that a component we believed was securely attached was not fully secured. This made the right side heavier and created an unintended wing-to-wing balance issue.
The experience demonstrated how a small assembly issue can significantly affect the behavior of a lightweight aircraft.
08 / RESULTS
A working flying aircraft
Despite the challenges, the project produced a functional 3D-printed RC aircraft that flew well during its second test.
I am most proud of taking a 3D-printed aircraft from a digital model to a physical aircraft that could successfully fly.
09 / LESSONS
What I learned
This project gave me hands-on experience with the relationship between manufacturing, assembly, weight distribution, and real-world performance.
It reinforced the importance of testing physical systems rather than assuming that a design will behave exactly as expected.
PROJECT GALLERY
Aircraft Design & Fabrication